| Minimum Software Version | 7.20 |
| Solution(s) | Hearings ✓ Cases International⨉ Cases US⨉ Institutions ⨉ Counsel ⨉ |
EPE Shared Control is an extension to the existing Electronic Presentation of Evidence (EPE) feature. During a hearing, EPE Shared Control allows control of the display to be passed between the EPE Officer and the Barrister. This feature also enables all legal staff to be involved in creating presentations prior to a hearing.
Workflow
The Barrister who has the case and is going to Court creates the presentation slides for the cross examination of the witness themselves; members of the legal team can also be involved in creating the presentation beforehand.
Presentations can be edited during live display, while the court is recessed, or between the days of the hearing, allowing quick changes that are triggered by the preceding days information.
At a high level, the workflow is that the EPE Officer works as normal, until the Barrister verbally requests control of the display. The EPE Officer gives control to the Barrister (or an associate). The slides can be shown with prepopulated callouts or annotations in single/dual page view during the hearing. The Barrister goes through the presentation with the witness and can also show ad-hoc documents if needed. When the presentation is complete, at the Barrister’s verbal request, the EPE Officer takes back control.
Prerequisites
EPE Shared Control is not enabled by default for all users and must be requested prior to the hearing by contacting casemanagers@opus2.com.
Logging in to EPE Shared Control
- Log in as a party user for EPE Shared Control.
Note: Log in using your usual Opus 2 Hearings login and password. If anything different is required, the Opus 2 on-site team will tell you.
The Case Dashboard page appears with the Party Presenter option shown on the toolbar.
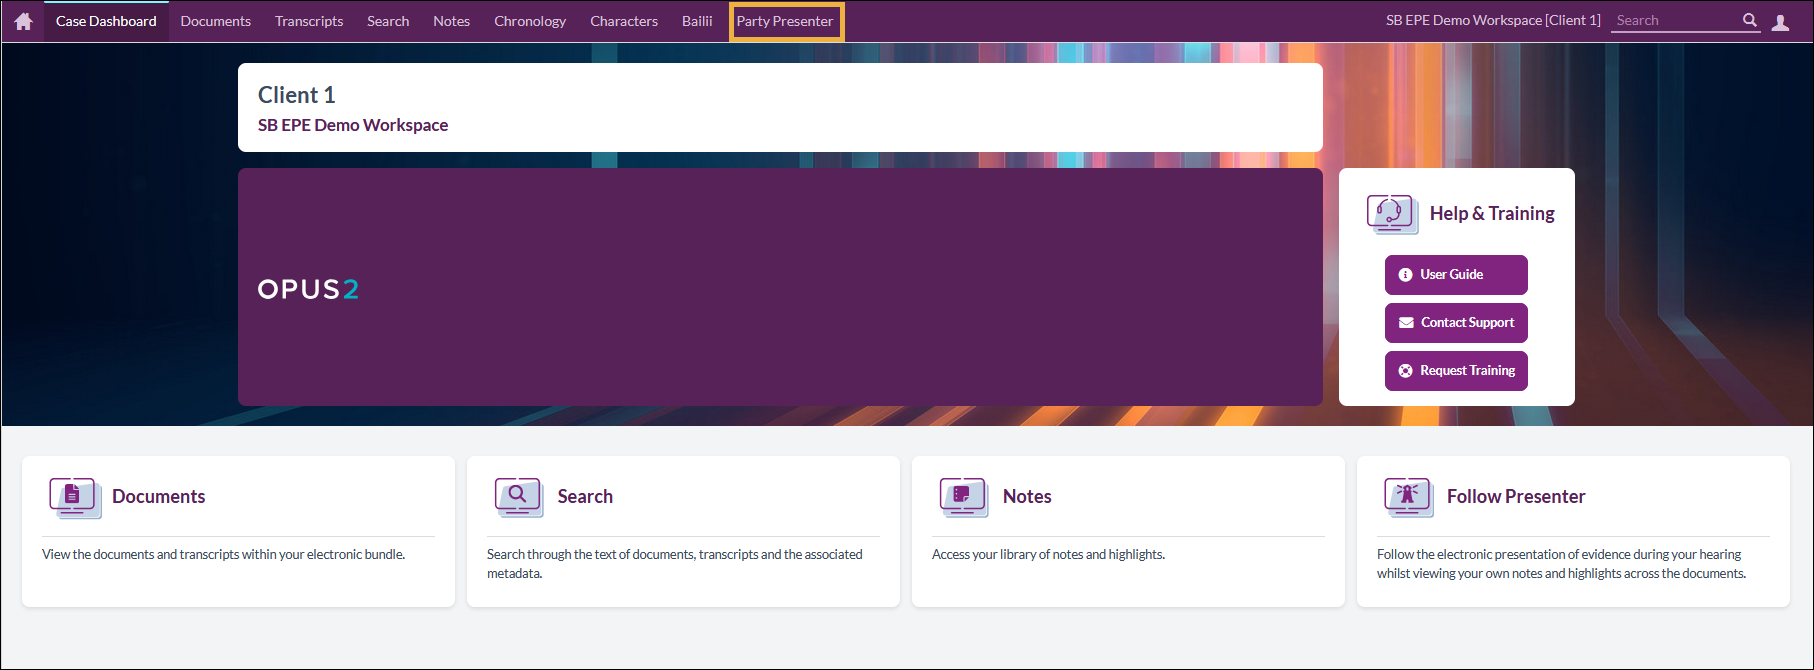
- Select Party Presenter.
The Party Presenter screen is shown. This is where you create presentations and also show them when ready.
Parts of the Party Presenter screen
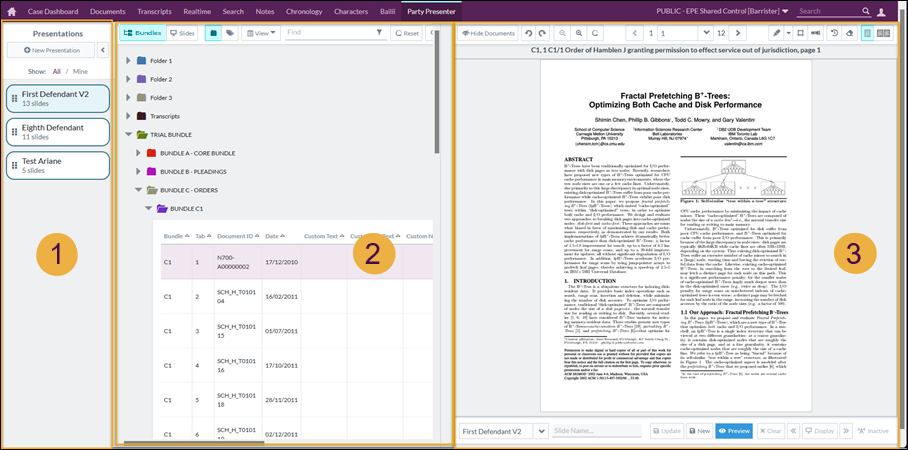
The screen is split into three panels:
- Presentations panel
- Bundles/Slide panel
- Preview panel
The Presentations and Bundles panels

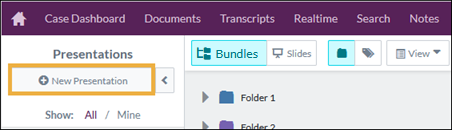
- New Presentation button.
- To collapse the Presentation panel, select < or select > to expand it.
- Select All to see all slide decks, select Mine to just see those created by yourself.
- Slide decks showing their title, and number of slides. Hover and then hold down the six dots at the left of a slide deck to drag it and reorder the sets of slides.
- Select Bundles to see the folders of documents. Select Slides to see the slides in the selected slide deck.
- Browse documents by folder.
- Browse documents by tags.
- Filter by one or more criteria, for example, Characters, Bundle, Date, Pages, Custom Text.
- Find something in the document metadata, for example, date, bundle, tab, id, title.
- Resets your view to the initial folder view so it collapses open folder structures or removes previous results.
- Select Document enables you to select a document, bundle, tab, and page and then display the chosen page in the Preview panel.
- Contents of a bundle.
The Preview panel (top)
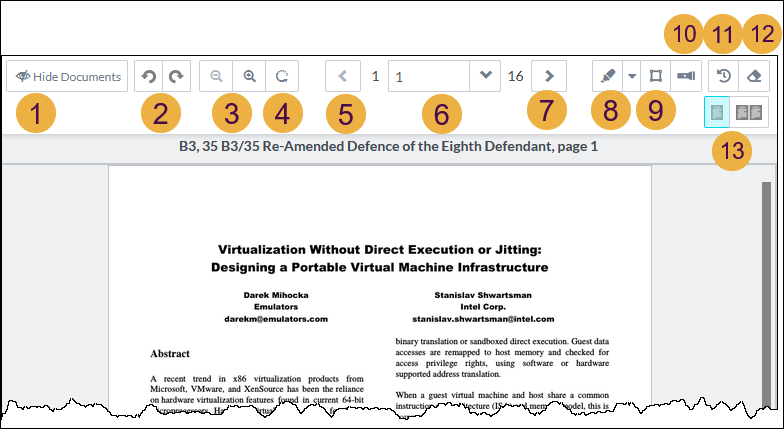
- Hide documents to show a full screen view of the slide or document preview.
- Rotate the page left or right.
- Zoom out or in.
- Zoom reset and reset of any rotation.
- Previous page.
- Current page number and drop-down list of pages.
- Next page.
- Text highlight and drop-down list of colours.
- Box select.
- Callout.
- Undo highlights or selections back several steps.
- Erase highlights or selections.
- Single page view and Dual page view.
The Preview panel (bottom)
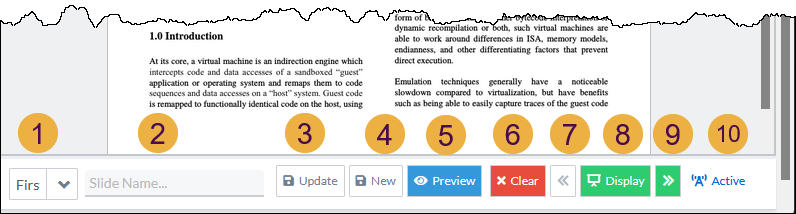
- Drop-down list of available presentations.
- Text input for slide name creation and update. When creating a new slide from the one shown in preview, edit the name in this field first.
- Update slide - update the existing slide with the current document preview.
- New slide - create a new slide from the current document preview.
- Preview - preview the slide full-screen in a new tab for only you to see how the slide will look when displayed.
- Clear - clear the display when you have control of the Evidence display screen.
- Display previous slide in current presentation on the Evidence display screen.
- Display - display previewed slide or document.
- Display next slide in the current presentation on the Evidence display screen.
- Indicator that is lit up when you have control of the presentation.
Creating a presentation
- Select the Party Presenter tab.
- Select New presentation.
- Enter the Name, the Description, and select the checkbox for Private if you do not wish the presentation to be visible to anyone else within the Party Presenter page, and Move to top of list.
Tip: Only the owner of a presentation can see and select the Private checkbox. Private presentations can still be displayed in Court.
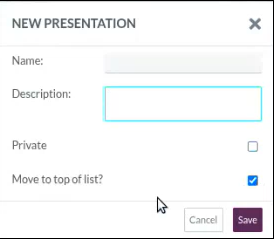
Tip: Leave all fields blank and select Save to autogenerate an empty presentation called Presentation 1. You see zero for the number of slides in the presentation.
A new presentation is created. The six dots on the left of the presentation name enable grabbing and re-ordering of presentations within the list.
Creating a slide from a preview document
- In the Party Presenter tab, select a document from the bundle.
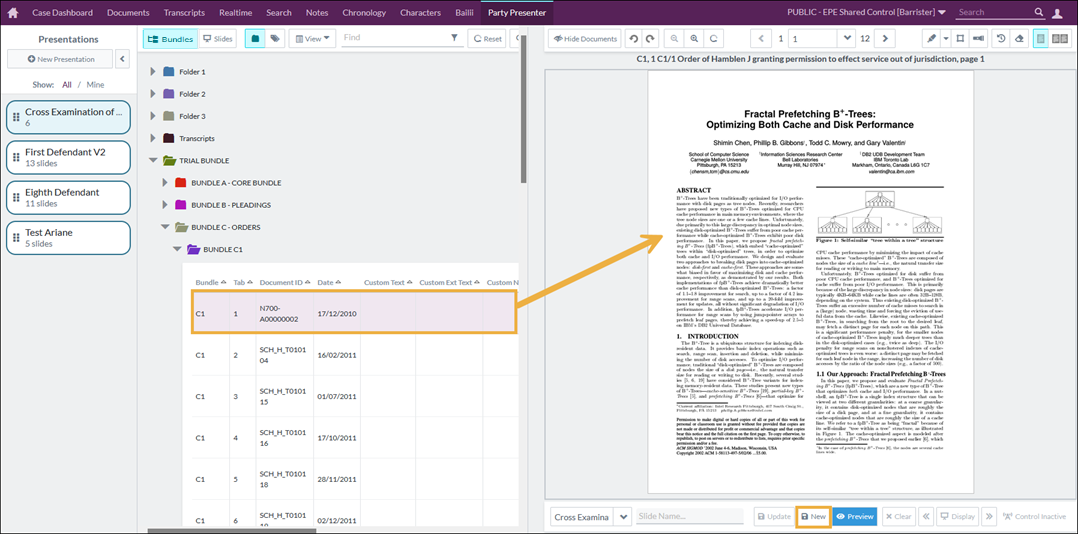
- With the chosen document open in the Preview pane, select New underneath the preview.
The document is turned into a slide. It is called Slide 1 if you don’t give it a name in the Slide name field.
The slide is saved to the currently selected presentation.
Moving between slides and documents
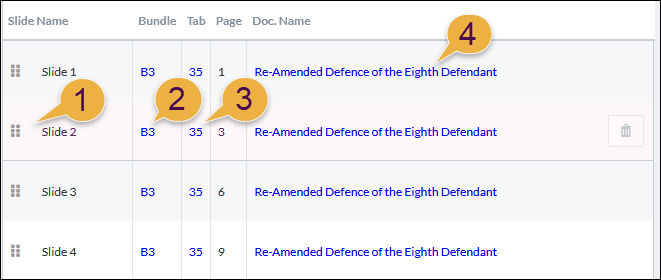
- To open a slide, select anywhere on the slide row APART from the bundle, tab, or document name to open the slide in the preview panel.
- Select the bundle id to search for all instances of B3 as text.
- Select the tab to search for all instances of tab 35 as text.
- Select the document name to open the document in full screen preview in a separate browser tab. Close the browser tab to go back to the Party Presenter page.
Updating and deleting presentations and slides
- In the Party Presenter tab, select a presentation in the Presentation panel to open it in the central Bundles/Slides panel.
Hover over the presentation to see the info, edit, and delete icons.
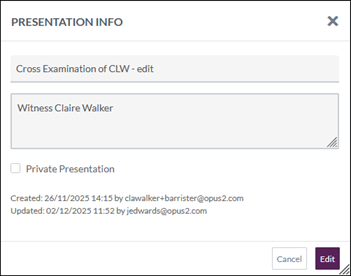
- To view presentation information and see who last edited or created a presentation, select the i icon.
- To edit any of the information for the presentation, select Edit.
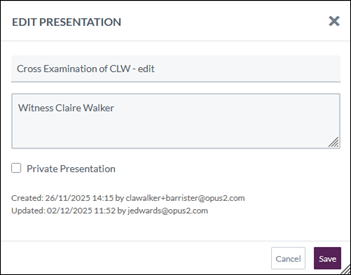
- Edit the title, description, or Private Presentation option and then select Save.
Tip: If you are not the owner of the presentation, you don't see the Private Presentation option.
- To update the contents of a slide, open a slide by selecting the slide row, make changes in the Preview panel, for example, by adding an annotation, then select Update underneath the preview pane.
- To delete a presentation, hover over the Delete bin icon and select it. Confirm your choice.
- To delete a slide, hover over it and select the Delete bin icon.
Changing the slide or presentation order
- To change the slide order, drag the slide to the desired position in the list of slides by grabbing the 6 dots.
- To change the presentation order, grab the 6 dots and drag the presentation to the desired position in the list of presentations.
Filtering your own presentations
To filter your own presentations from the list of all presentations, select Mine at the top of the Presentations panel.
Select All to return to viewing the whole list.
Using dual page mode
Select the button with two squares to show dual page mode (side by side). You can see two pages in the same document or show two different documents by doing one of the following:
- To see two pages of the same document, select a document first and then select dual page mode. You can then change the left and right pages to be different pages or two views of the same page as needed.
- To see two different documents, start from a blank preview, and select dual page mode. Select the left side, and choose a document to show in that side; then select the right side and select a different document.
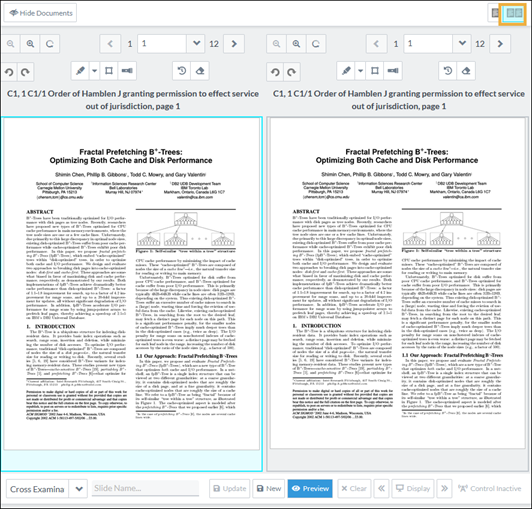
You can then add annotations, highlights, or show two different pages and display to the Court.
Adding annotations to a presentation
- To add different types of annotation to each page, for example, select a highlight on the left page and the torch icon to add a callout on the right page.

Select Preview to see what your annotations will look like when presented:

If this dual page view is saved as a new slide, it gets saved automatically as, for example, slide 7 (left) and slide 7 (right).

Some tips:
- There is a limit of two callouts per page per side.
- Boxes and callouts are allowed to overlap with highlights.
- Boxes cannot overlap with other boxes.
- Callouts cannot overlap with other callouts.
- Boxes and callouts cannot overlap.
Related articles